





Survey-to-service implementation guide
Smart Locker Installation Guide: From Survey to Go-Live
A practical guide to surveys, site preparation, configuration, physical installation, commissioning, training and operational handover.
The short answer
Installation starts well before the lockers arrive
A smart locker installation is the controlled process of turning an approved design into a safe, configured and supportable live service. It includes site surveys, technical preparation, delivery planning, physical assembly, power and network connection, software configuration, integration testing, user acceptance, training and handover.
The quality of the on-site installation depends on decisions made earlier. Incorrect measurements, unclear responsibilities, unfinished enabling works or untested credentials can delay go-live even when the locker hardware itself is ready.
Do not ask only whether the locker wall has been fitted. Ask whether real users can complete the intended journey, exceptions can be managed and the live support team has accepted ownership.
Explore Vpod smart locker systems for the underlying platform, or use the enterprise implementation checklist for wider programme governance.
Mobilisation
What must be agreed before installation planning begins?
Operational workflow
Define who uses the lockers, what is stored, how items are deposited or allocated, how access is granted and how exceptions are resolved.
Scope and quantities
Confirm sites, locker walls, compartment sizes, finishes, terminals, readers, accessories and any future expansion allowance.
Technical architecture
Agree power, connectivity, identity, access methods, integrations, data ownership, environments and support boundaries.
Responsibilities
Record who owns surveys, enabling works, delivery access, installation, configuration, testing, training, acceptance and ongoing service.
These decisions should be recorded in an approved project brief and responsibility matrix. Commercial planning should also include survey, delivery, installation, commissioning and support—not just cabinet prices. See the smart locker cost and pricing guide.
Gate 1 · Survey
Survey the space, infrastructure and delivery route
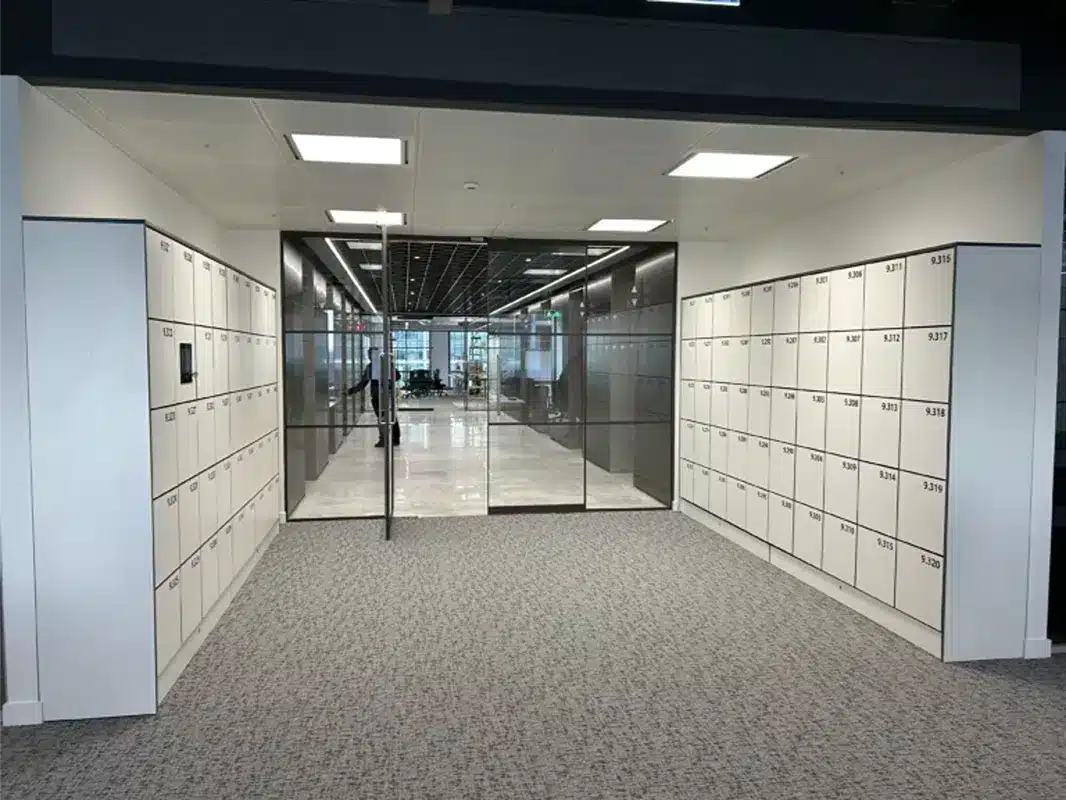
The site survey converts the proposed design into verified installation information. Measurements should cover the complete locker wall, fillers, end panels, plinths, service access and clearances—not only the cabinet modules.
Survey checklist
- finished dimensions, levels, structure and fixing surfaces;
- floor condition, loading and any raised-floor constraints;
- power position, rating, isolation and cable route;
- wired or wireless network availability and security requirements;
- delivery route, vehicle access, lifts, doors and working hours;
- fire strategy, escape routes and building-management restrictions;
- accessibility, reach ranges, circulation space and lighting;
- protection, storage, welfare, waste removal and reinstatement.
Gate 2 · Design freeze
Turn survey evidence into an installable design
The design freeze is the hold point between discovery and manufacture or final configuration. Every dimension, interface and customer dependency should be explicit enough for the installation team to work without improvising on site.
Physical package
- approved elevations and dimensions;
- door and compartment schedule;
- materials, colours and graphics;
- fixing and finishing method;
- terminal, reader and accessory positions.
Technical package
- power and connectivity schedule;
- network and security requirements;
- credential and reader specification;
- integration design and test plan;
- configuration and reporting workbook.
Delivery package
- delivery and lifting method;
- working-area controls;
- installation sequence;
- site contacts and permits;
- inspection and acceptance plan.
Any later change should pass through a controlled process that identifies its effect on cost, lead time, software, site works, testing and documentation.
Gate 3 · Readiness
Confirm the site is ready before dispatch
A formal readiness review prevents finished lockers arriving at an unfinished or inaccessible location. The review should be evidence-based, with photographs, test results and named owners for remaining actions.
Area clear, finishes complete, dimensions rechecked and access maintained.
Supply installed, labelled, tested and positioned to the approved design.
Connection available, security approved and required endpoints tested.
Delivery route open, bookings confirmed and lifting or handling provisions ready.
Site contact, installer access, permits, inductions and technical support confirmed.
Production configuration, users, credentials and integration dependencies prepared.
Hold point: postpone dispatch or installation when a critical dependency would prevent safe completion, commissioning or protection of the finished work.
On-site sequence
A ten-step smart locker installation plan
Protect and control the work area
Complete inductions, confirm permits, protect finishes and separate the installation area from building users.
Receive and inspect
Check quantities, packaging, cabinet references and visible condition before moving units to the final location.
Position the locker modules
Set out against approved drawings, maintaining required clearances, alignment and service access.
Level, join and secure
Level modules, connect the locker wall and complete the approved structural fixing method.
Install finishes and accessories
Fit plinths, end panels, fillers, trims, readers, terminals, signage and other specified components.
Connect power and communications
Complete authorised electrical and network work, route cables safely and record connection points.
Load the approved configuration
Apply sites, zones, doors, roles, workflows, credentials, notifications and reporting settings.
Inspect workmanship
Check alignment, gaps, door movement, finishes, labels, cleanliness, access and physical security.
Commission and test
Run the agreed hardware, software, integration, exception and recovery scripts.
Accept, train and release
Record results, resolve or accept defects, train teams and approve the controlled transition to live use.
Quality control
Inspect what users will see—and what support teams will depend on
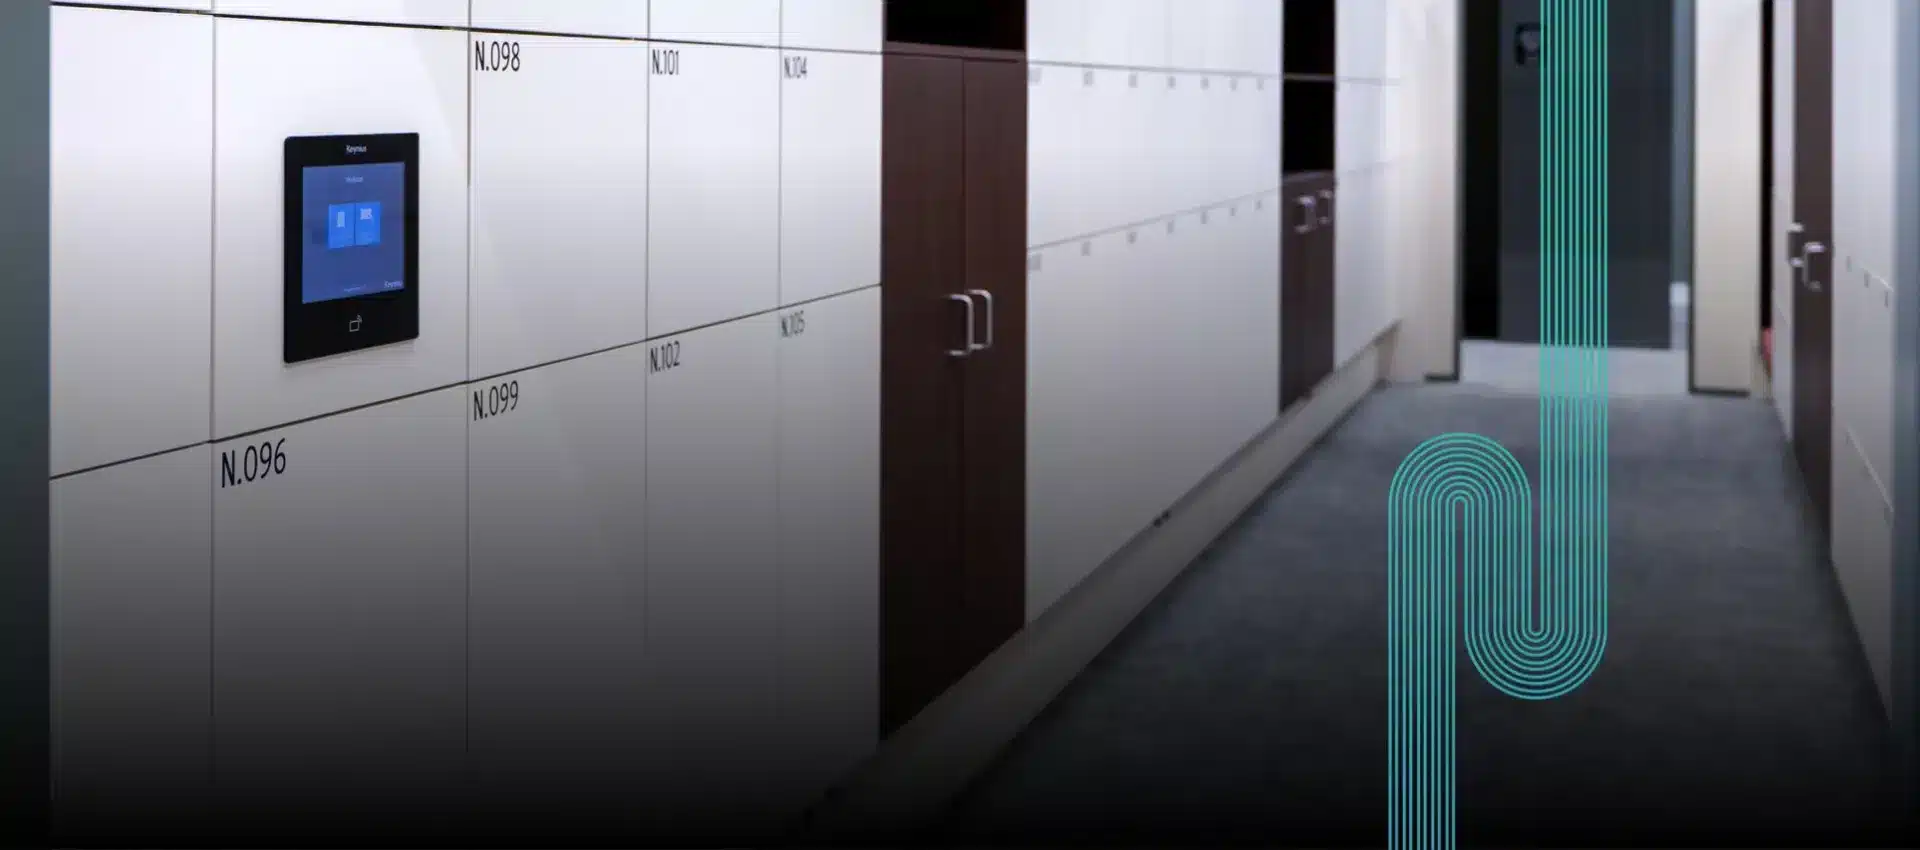
Installation quality includes more than straight cabinets. Check door operation, reader response, screen visibility, accessible compartments, labels, finishes, gaps, cable management, service access and the accuracy of the asset register.
Photograph completed work and record door, controller or terminal references where required. A traceable completion record makes later support faster and reduces disputes about site condition.
Gate 4 · Commissioning
Prove the complete service before acceptance
Hardware
Doors, locks, sensors, controllers, screens, readers, lighting and overrides.
Connectivity
Network connection, cloud communication, monitoring and approved continuity behaviour.
Credentials
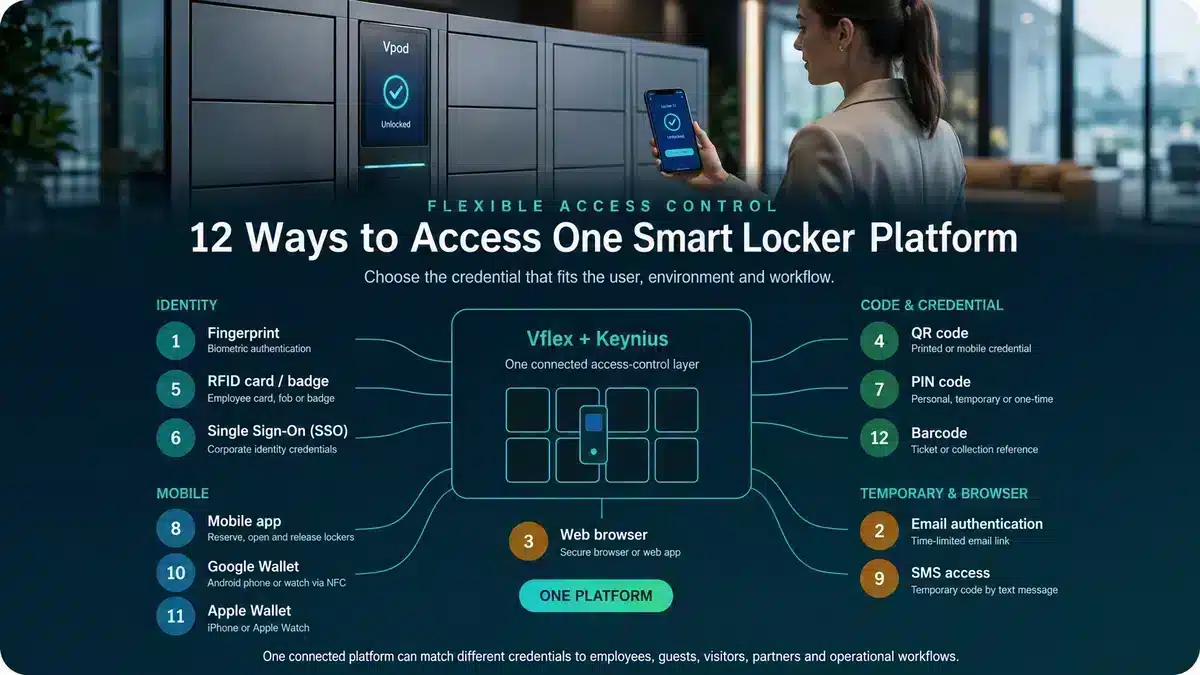
Employee badges, PINs, QR codes, mobile credentials and administrator access.
Workflows
Allocation, deposit, collection, return, release, expiry and reassignment.
Integrations
Identity, access control, workplace, ITSM, booking or other connected platforms.
Exceptions
Full capacity, failed access, overdue items, network loss, power loss and controlled override.
Security
Roles, permissions, audit events, administrative controls and protected settings.
Reporting
Door status, activity, occupancy, exceptions, alerts and required management outputs.
Acceptance results should show the test performed, expected result, actual result, evidence, status and owner. Priority defects must be resolved—or explicitly accepted with controls—before release.
Gate 5 · Go-live
Prepare people and support—not only the platform
Before launch
- production configuration approved;
- users and credentials prepared;
- administrators and service desk trained;
- guides and communications issued;
- monitoring, support and escalation active;
- cutover and contingency approved.
During launch
- named command contacts available;
- transactions and alerts monitored;
- issues recorded with correlation evidence;
- user questions triaged rapidly;
- capacity and denied demand observed;
- status communicated consistently.
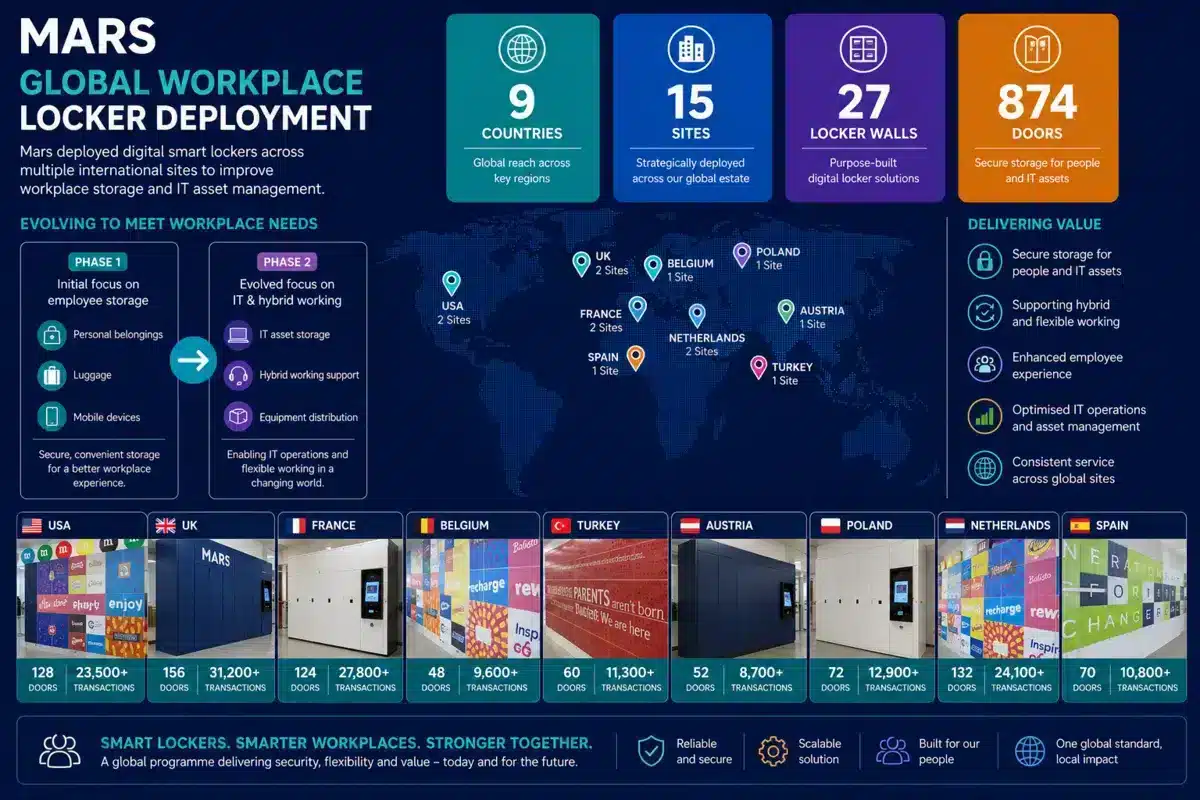
See a live deployment
Smart lockers in an operational workplace
Use real deployment evidence to brief stakeholders on user experience, central management and the transition from installation to service.
Watch on YouTube
Gate 6 · Stabilisation
Move from installation project to managed live service
The installation is not complete until operational ownership is clear. The handover pack should allow the customer, supplier and support teams to understand what was installed, how it was configured, what remains open and how performance will be reviewed.
Required records
Approved drawings, asset register, configuration record, test results, certificates, photographs, defect status and warranties.
Service information
Support contacts, operating hours, escalation routes, response targets, maintenance arrangements and known workarounds.
Operational ownership
Named owners for users, permissions, reporting, access reviews, configuration changes, incidents and supplier management.
Performance review
Baseline adoption, successful journeys, exceptions, support demand, occupancy, denied demand and a 30-, 60- or 90-day review.
For estate-wide implementation, read how to plan a multi-site smart locker rollout. For live deployment evidence, explore the Vpod smart locker case-study hub.
The completion standard
A fitted locker wall is not yet a live smart locker service
Completion means the installation is safe and finished, the configured user journeys work, integrations and exceptions have been tested, stakeholders are trained, support is active and operational ownership has been accepted.
Plan the installation
Move from approved concept to a controlled go-live.
Share your locations, workflow, capacity, access methods, integrations and target dates with Vpod.